
Favorites in Plants


Plants
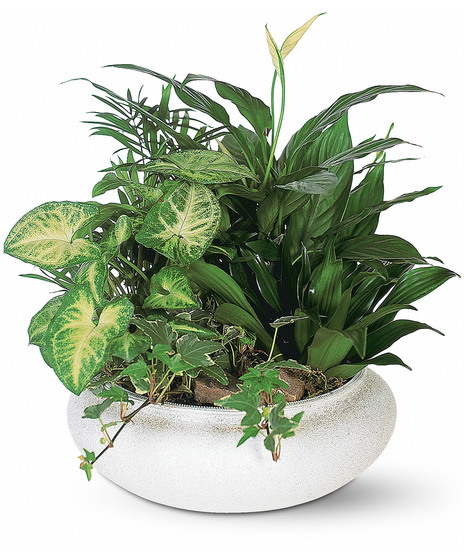
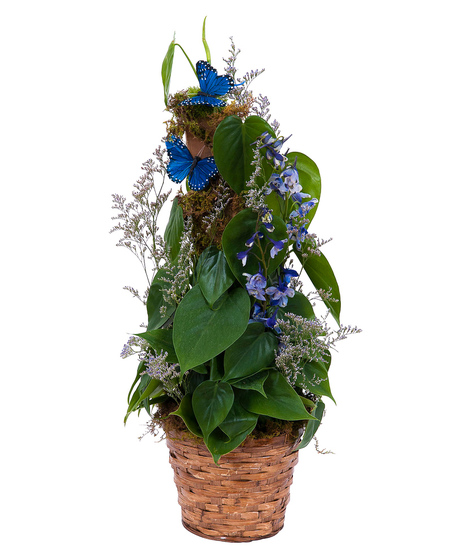
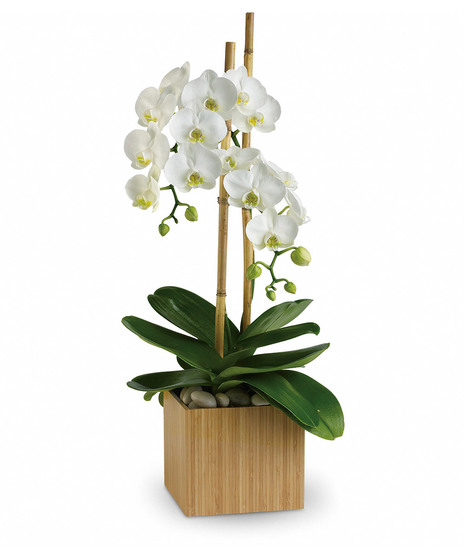
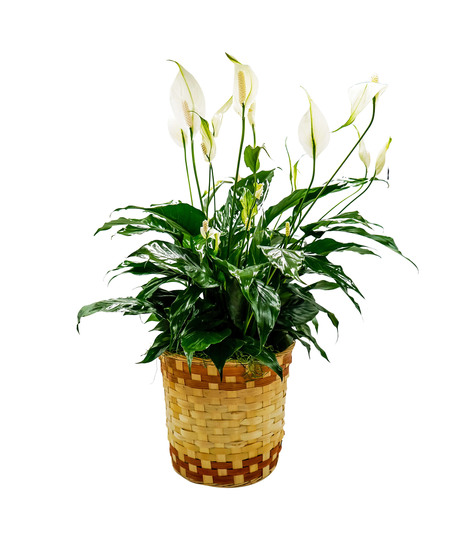
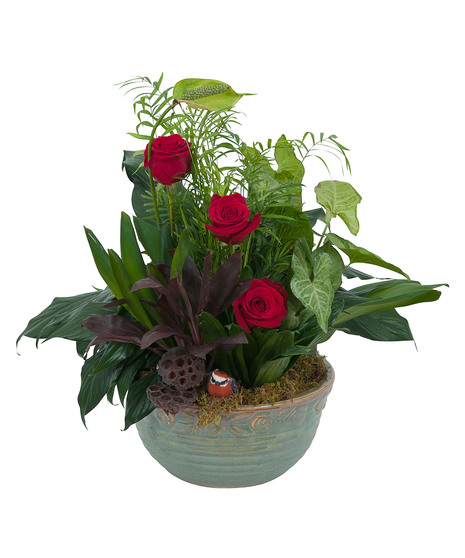
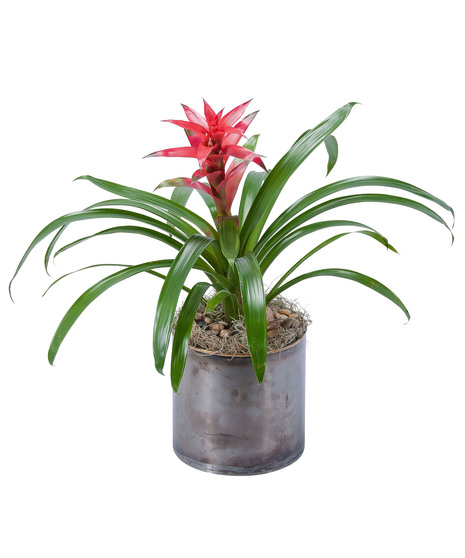
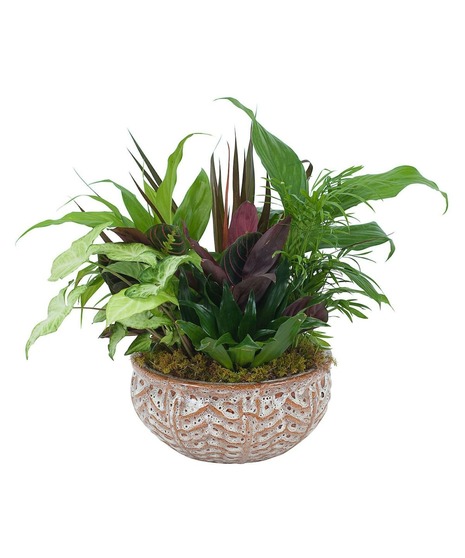
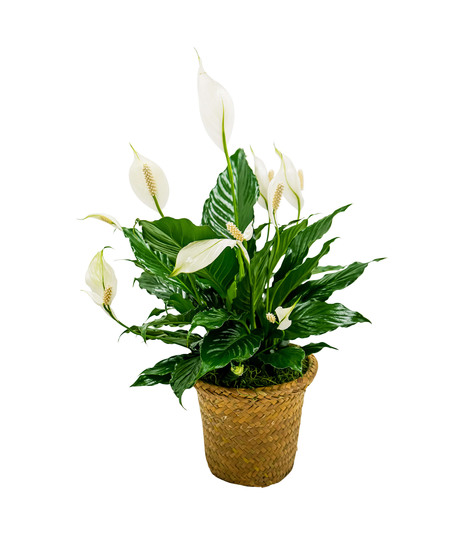
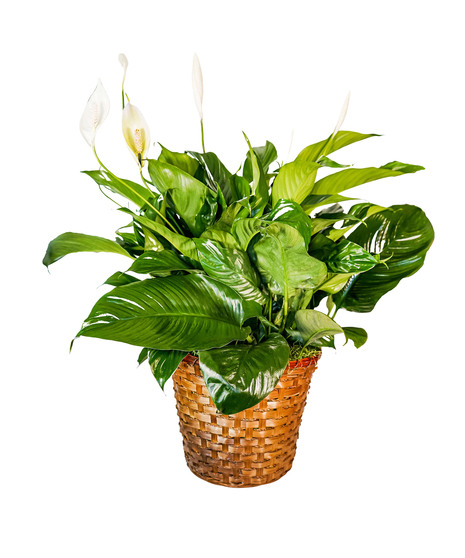
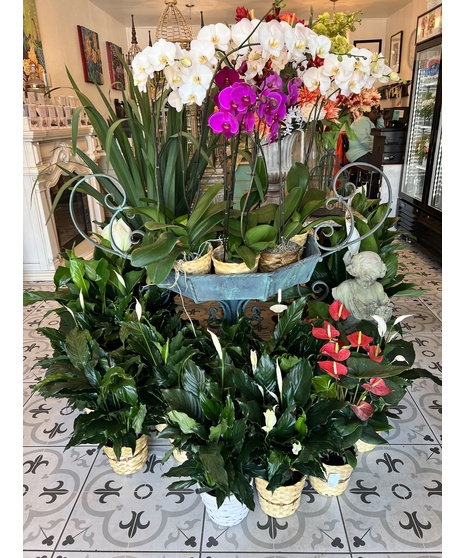
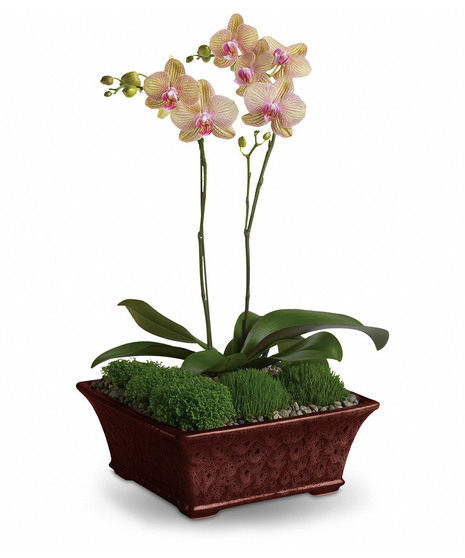
Bring a touch of nature into your home or office with Absolutely Beautiful Florist's collection of lush green and blooming plants. Our expert designers carefully select each plant to ensure that it thrives in its new environment and brings natural beauty and fresh air to any space. From elegant snake plants to vibrant pothos, as well as seasonal flowering varieties like azaleas and hyacinths, our plant collection offers a variety of options that are perfect for adding a touch of the outside to any decor.
Frequently Asked Questions
How to care for plants?
You can learn more about taking care of your plant by visiting our plant-care page.
What are the easiest plants to care for?
If you’re new to plant care, we recommend starting with easy-to-maintain plants like pothos, snake plants, and ZZ plants. These plants thrive in various light conditions, require minimal watering, and are highly resilient—making them perfect for building confidence as a plant parent. We’d be happy to guide you to the best options for your space and experience level! Connect with us either in-store or over the phone. Our florists are standing by.
Which plants make the best gifts?
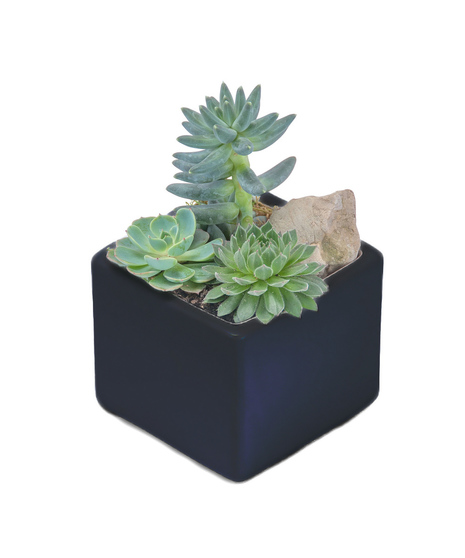
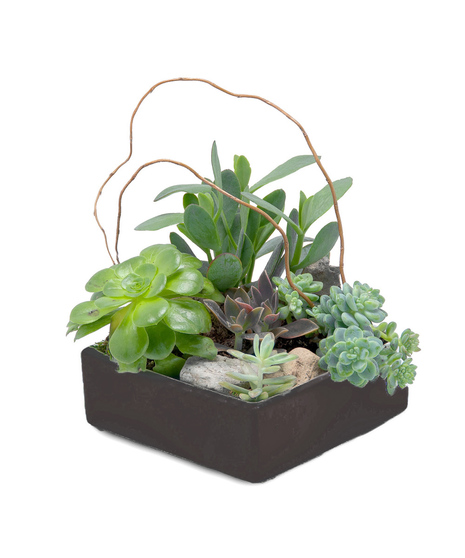
It can depend on why you’re giving it to the recipient! Often, the best plants for gifts are those that are easy to care for and visually appealing, such as succulents, peace lilies, and snake plants. However, there is a whole world of meaning and symbolism to gifting plants that you can learn about from our blog.
Which plants are best for a cold or warm climate?
Even when choosing an indoor plant, your climate can still be a factor. From the natural humidity of many warm climates to the drier cold of other climes, choosing an easy-to-care-for plant with flexibility will help ensure your gift thrives. Pothos, succulents, and bamboo are easy choices for any indoor climate. Our florists would be delighted to walk you through the many options available to you.
What is the best-sized plant for a gift?
The best-sized plant for a gift depends on the recipient's space and preferences, but medium-sized plants (6–10 inches tall) are often ideal. They’re easy to display on desks, shelves, or window sills without overwhelming the space. Larger plants make fantastic home decorations and should be taken into consideration when gifting.
Where should you display your house plants?
Our house plant display guide is designed to help you find the best places for your houseplants.
Read our guide here.